
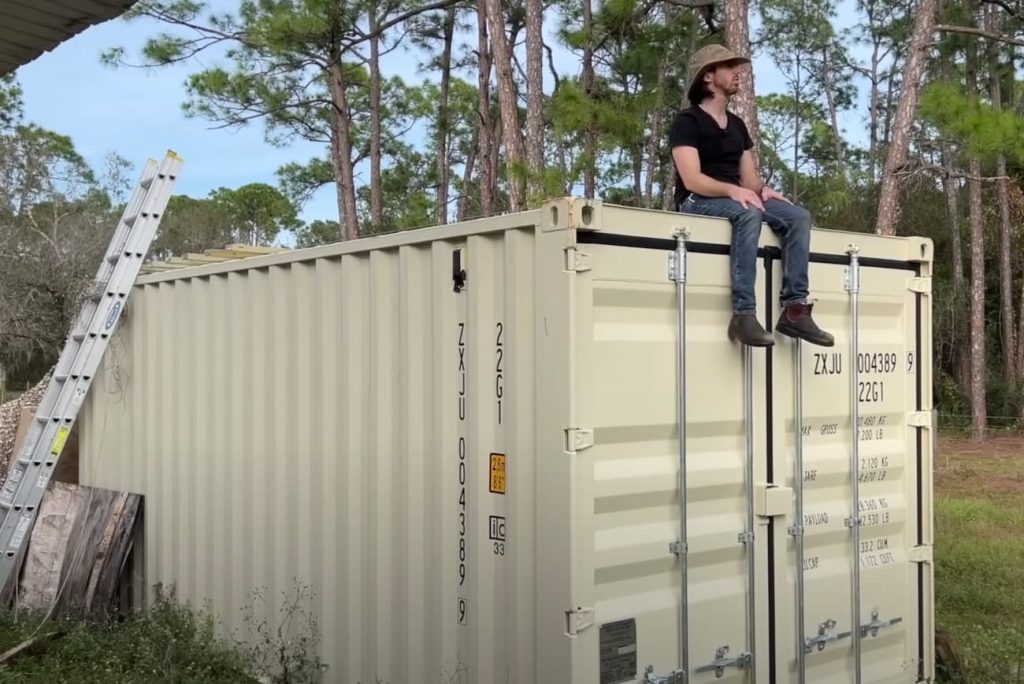
After one of my most recent Alibaba import adventures, I was left with a shipping container in my yard. These engineering wonders are great for many uses outside of merely transferring goods around the world, with one of the most common secondary uses being watertight storage units. That seemed like a great idea to put to use for all of my electric “toys”. Between my electric bikes, e-motorcycles, e-ATVs, electric tractors, and a few other things I’m probably forgetting, having a weather-sealed, solar-powered off-grid charging shed would be a big benefit. And if I could add an air-conditioning unit to keep the machines from baking in the sun (and function as a dehumidifier at the same time), then all the better. As it turned out, the project was a lot easier than I expected. Here’s how I did it.
There are many ways to skin a cat, and even more ways to add solar power to a shipping container.
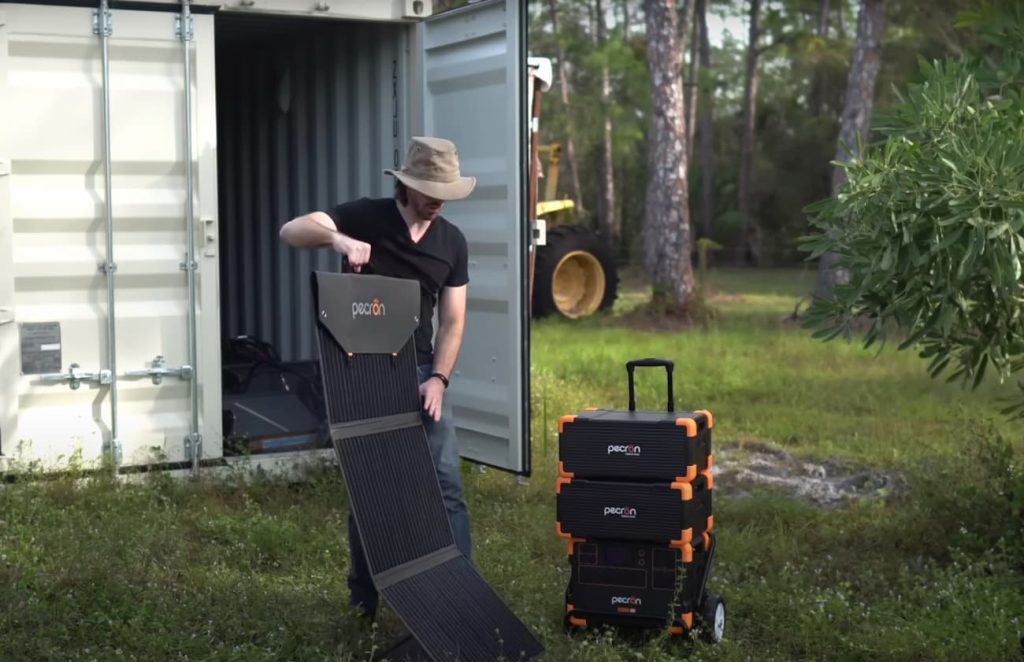
To be fair, I cheated a bit. Well, not really cheated, but I just went with a retail solar generator system instead of DIYing that part myself from à la carte components. It’s more expensive since you’re paying for a pre-designed and engineered solution, but damn if it doesn’t make it easy! To save a bit of money instead, you can source your own solar panels, solar charge converter, batteries, inverter, and wiring, then make it all play together.
For me and my limited time, an offer from Pecron for a solution that would do all of that for me sounded perfect, so I went with Pecron’s system.
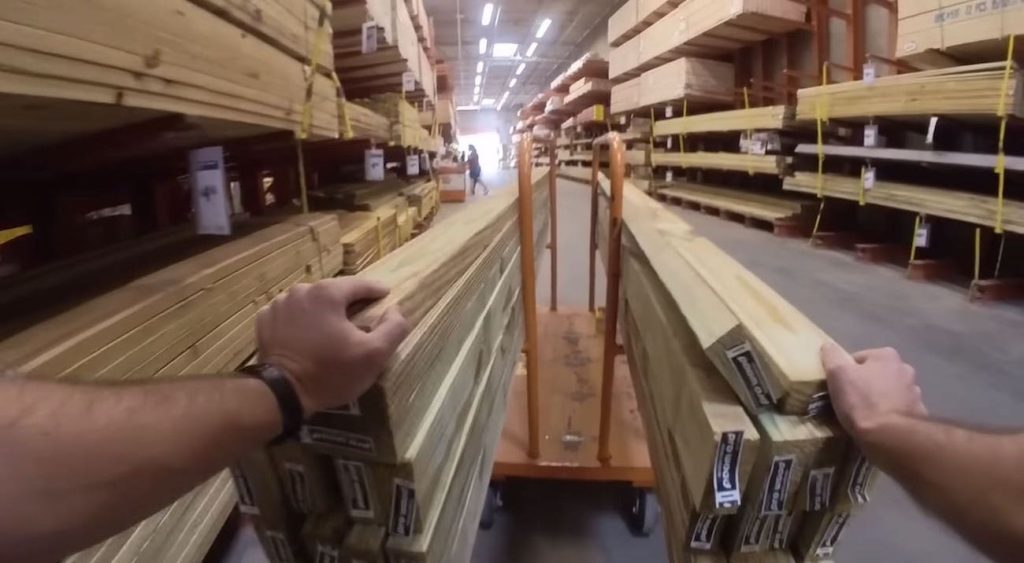
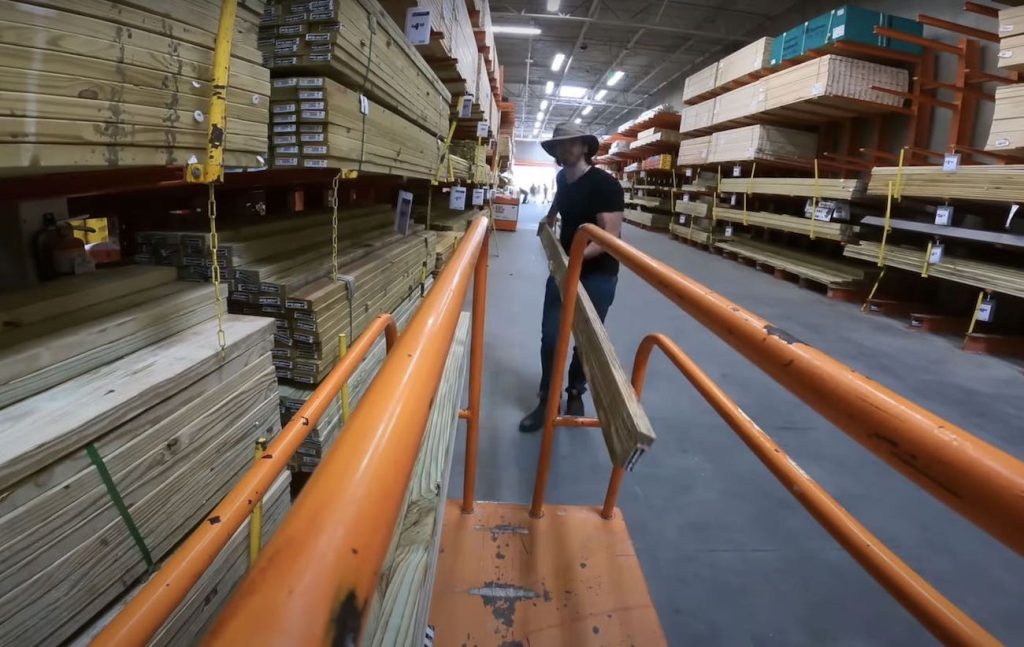
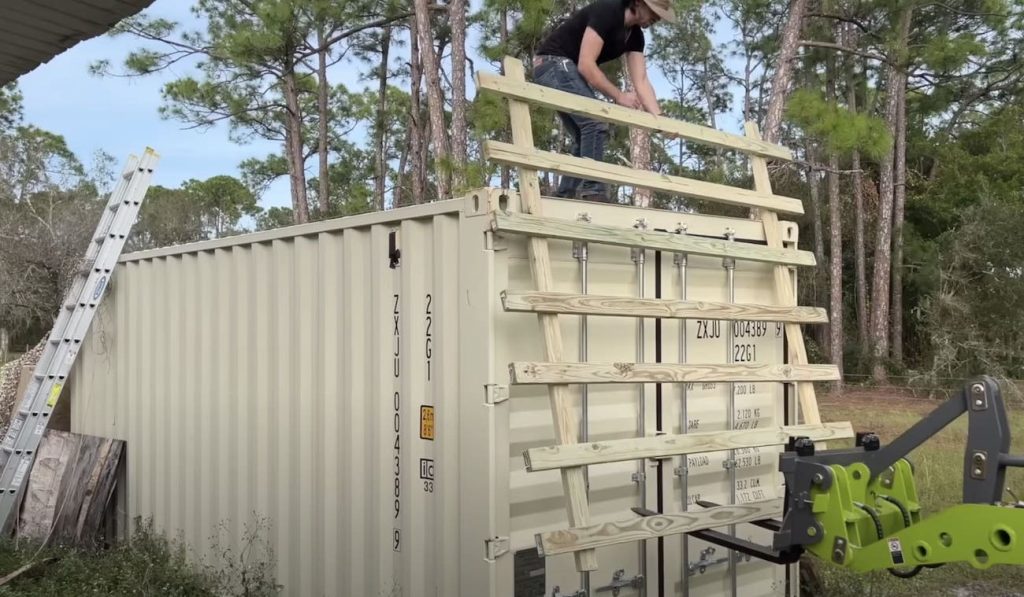
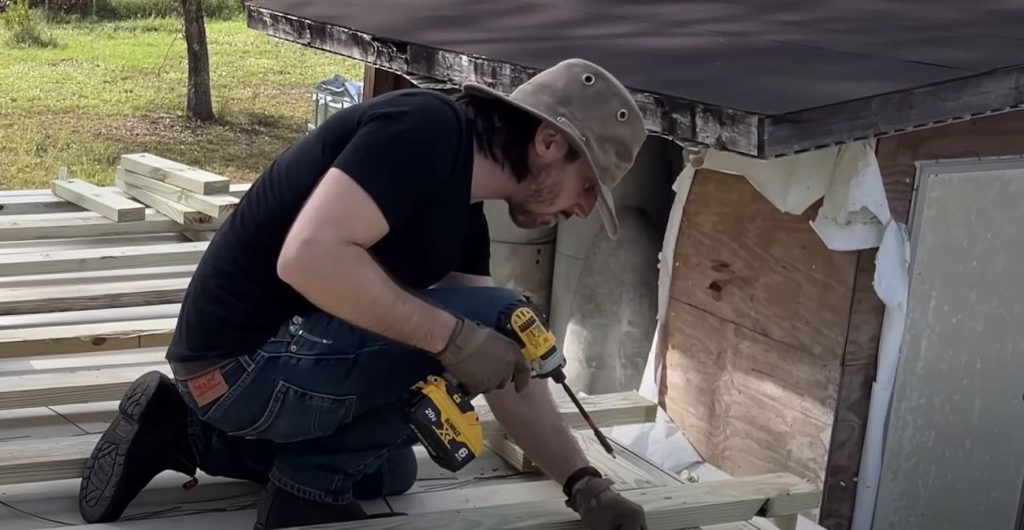
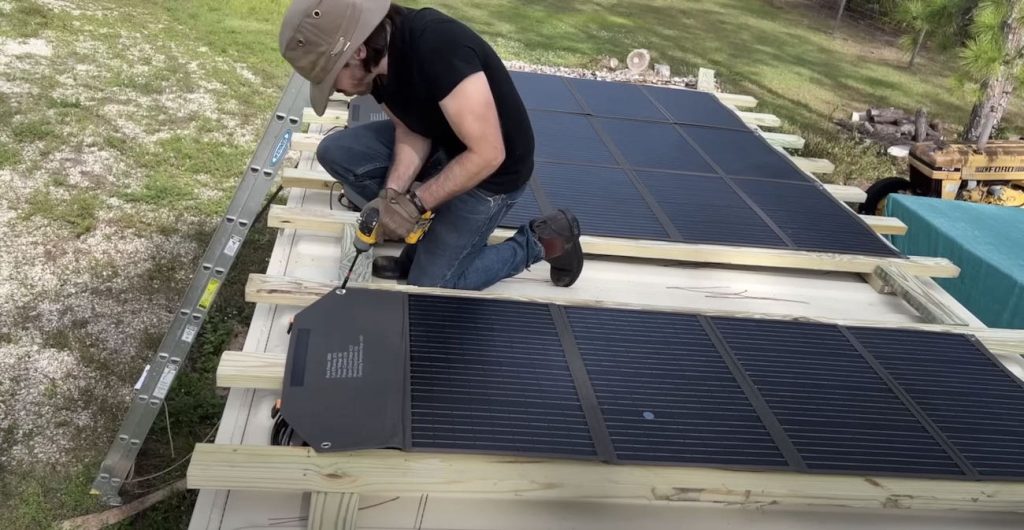
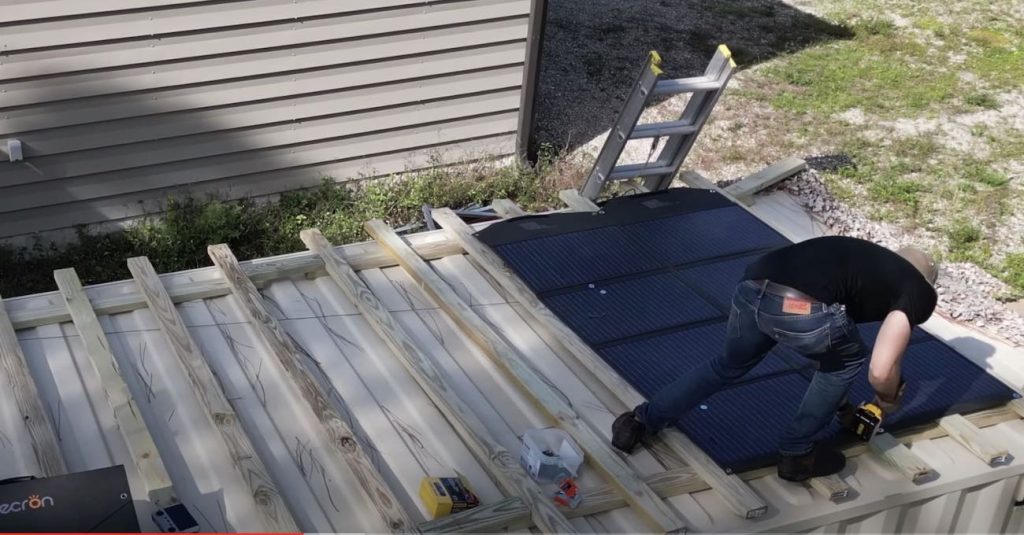
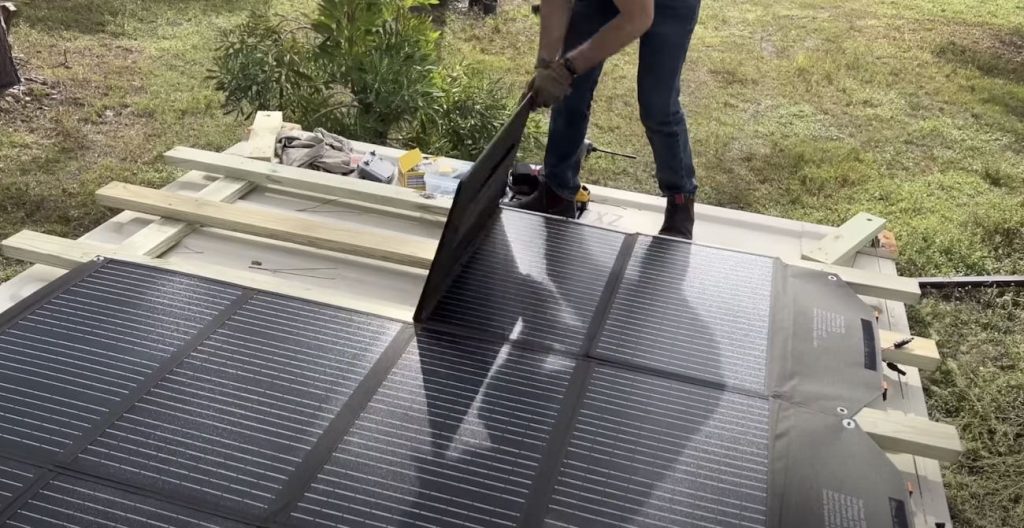
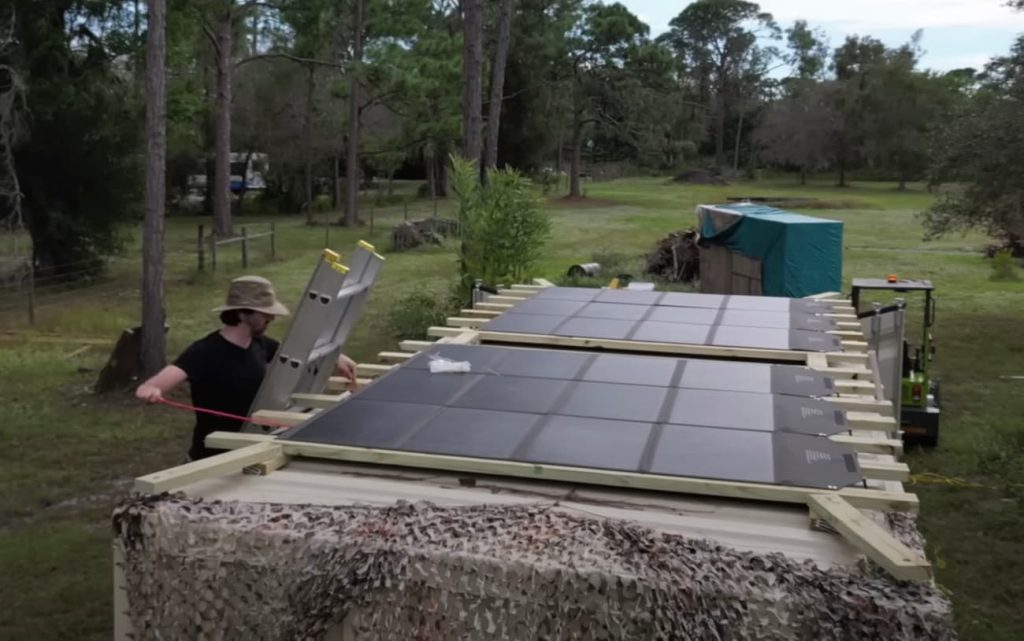
To make it all work as a solar shed, I’d have to mount the various components around the container. I started with the solar panels, which would need a frame. I used pressure-treated 2x4s to build a pair of mounts for the solar panels, each of which would hold three 200W panels.
With 1,200W of theoretical power (and probably more like 900W of solid real-world Florida solar energy), that would be a decent flow rate.

The panels I used are Pecron’s folding panels, which aren’t really meant for this type of long-term permanent installation. They should work, it’s just that you’re not really taking advantage of their folding nature.
They’re really designed for camping and other mobile scenarios where you’d want the ability to pack up and move your solar setup with ease.
You can imagine that with a setup like this, you could easily set up a 1,000-ish watt solar array at your campsite or off-grid cabin for a few days, then stow it all away in your trunk again later.


I mounted the panels using screws and big fender washers to hold them to the wooden panels. You can see it in more detail in my video of the project.
I know that everyone and their brother is going to ask me why I didn’t put the panels on an angle. And the answer is to hopefully give them better wind protection.
As I mentioned, these aren’t really designed for permanent installation, and thus they don’t have rigid frames. They’re pretty rigidly mounted to the wooden frames now, and the frames are lashed to the container, but it’s still a giant sail.
We occasionally get storms with pretty decent gusts, and so I wanted the panels flat to not give the horizontal gusts a surface to push against.
Angling the panels south would have been slightly more efficient, but the site is within spitting distance of the southernmost point in the US, so the efficiency difference of flat vs angled panels isn’t as big as if this was in Maine.

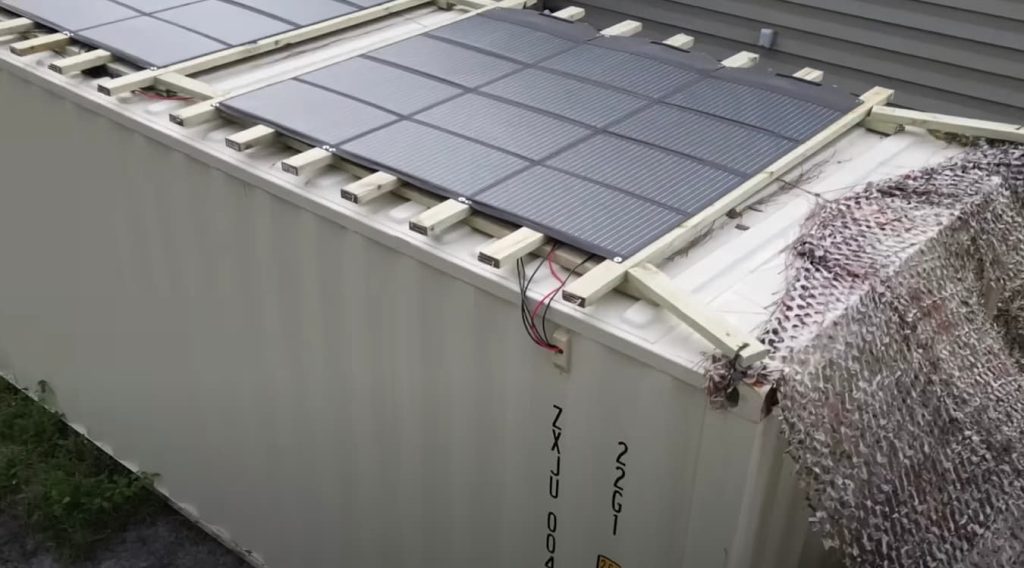
From there I had to get the wiring set up to feed my batteries. Here is where the beauty of the pre-built system really shows. All of the panels are wired for the inverter/battery/charge controller gear (which is an all-in-one unit) and the kit includes all of the adapters.
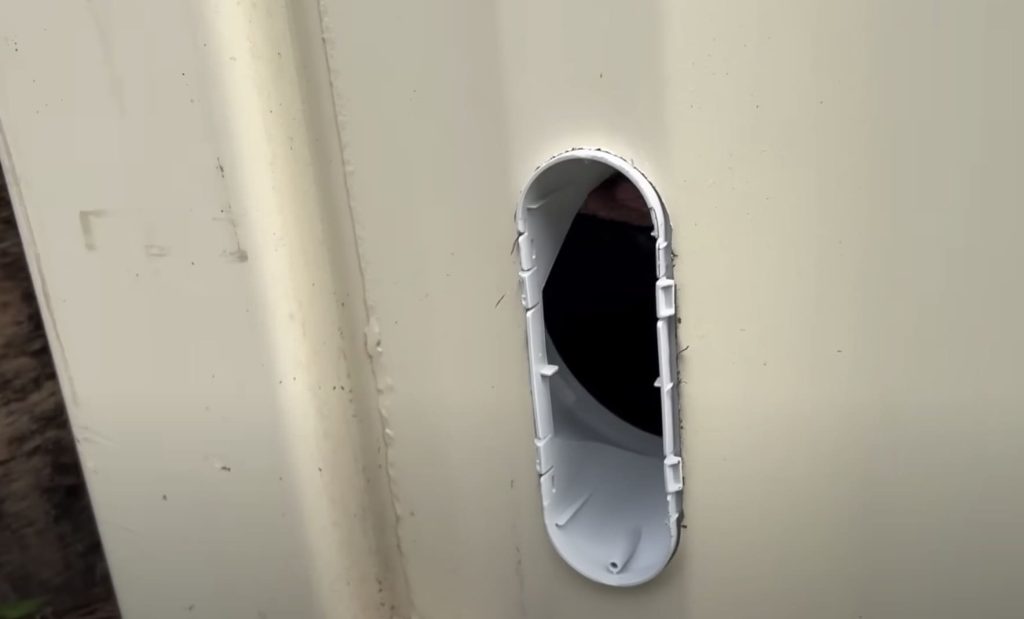
However, because I had to run the wires much further, I bought a set of 20 ft MC-4 solar panel extension wires. That allowed me to run all of the panels in parallel and then send them on a long enough run to make it through the existing vent hole in the side of the container. I had to drill out the vent hole a bit, and despite it not looking like it, I did put a small drip loop in the wires to prevent rainwater from running down the cables and into the container.
It’s been sitting there through plenty of rainy days over the last month, and not a drop of water has entered the container through the hole for the wires.

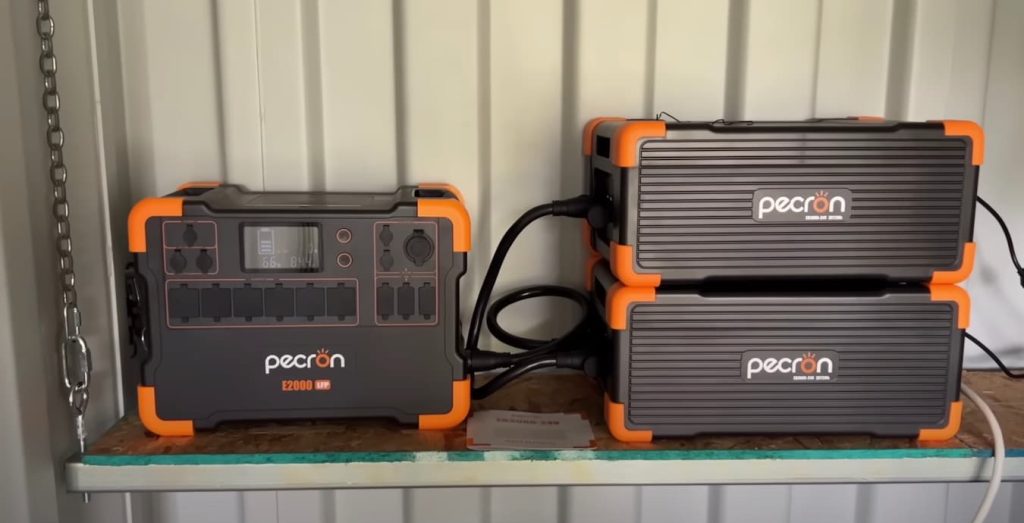
Once on the inside, I bundled the wires and ran them down to the Pecron E2000LFP and a pair of EB3000 auxiliary batteries.
Between the three of them, I’d have around 8 kWh of storage capacity. The 1,200W solar array should be able to nearly fill that entire battery bank with a solid day of strong Florida sun, though it’s pretty rare that I’d even use the entire 8 kWh in a day anyway.
The three units are all designed to plug into each other and cascade power between them, making this a simple operation. I literally just plugged in the wires and it worked like magic. I don’t mind getting custom, and I’ve got an engineering degree on my shelf that says I enjoy designing solutions, but sometimes it’s just nice to have something arrive ready to work.
To support them all and keep them off the floor so they don’t cut into my valuable storage space, I built a hanging shelf for them. That’s probably 180 pounds of batteries all together, so the shelf is made out of C-channel galvanized steel and hung from chains.
Next came the air conditioning.
I got one of the cheapest portable air conditioning units on Amazon I could find, and despite now realizing that was probably a bad idea, from an efficiency standpoint, it seems to work pretty well.
I should have gone with a small mini-split type of air conditioning unit, would would have been much more efficient. But I’m generating way more solar power than I can possibly use in this off-grid container, and so peak efficiency is less important to me.
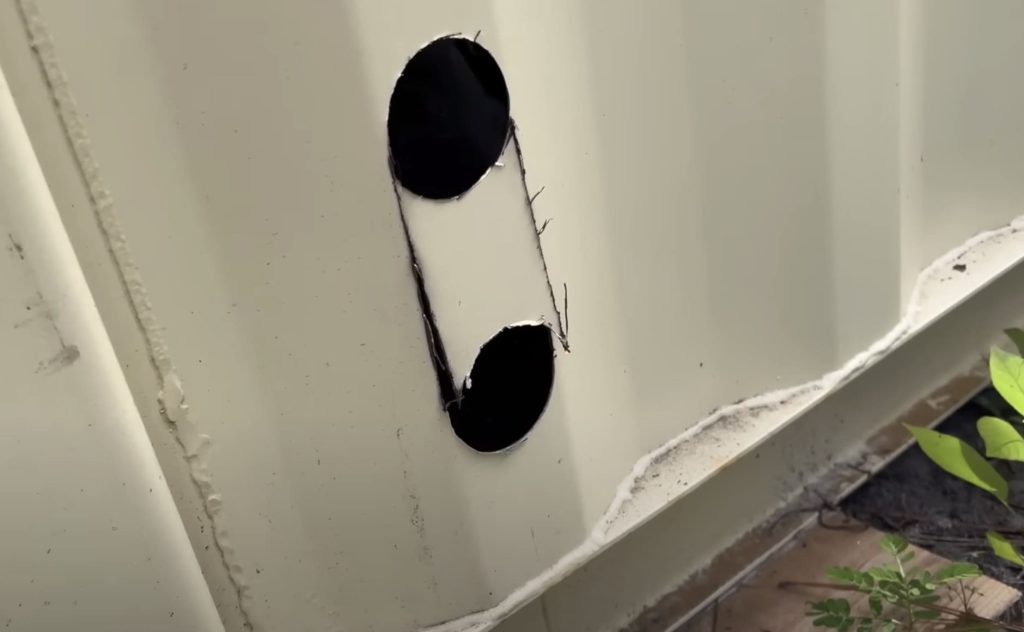
For this cheap portable unit, I had to cut a hole in the side of the container for the hot exhaust air to flow, then drill a smaller hole for the condensation tube to drain.
Despite not being the most efficient solution, it quickly cools the air in there (even if it is also sucking some outside air in through the container’s vents). It also acts as a dehumidifier, which is perhaps even more important to me, as my electric toys are likely just as unhappy about being in a super humid environment as they are about just being hot.


In the end, it all works! I mean, I took the easy way out with the Pecron system, but it’s still a cool feeling to start with a bare shipping container and end up with an off-grid solar charging shed that you put together with your own two hands.
With 8 kWh of stored energy and nearly 1,000W of real-world power in direct sun (and often 600-800W in less-than-ideal conditions), this is a seriously powerful system for just charging up all my EVs.
This could power a tiny home or other small off-grid setup like a hunting cabin. For me though, I’ll start with just keeping my electric tractors and motorcycles charged!
FTC: We use income earning auto affiliate links. More.


Comments